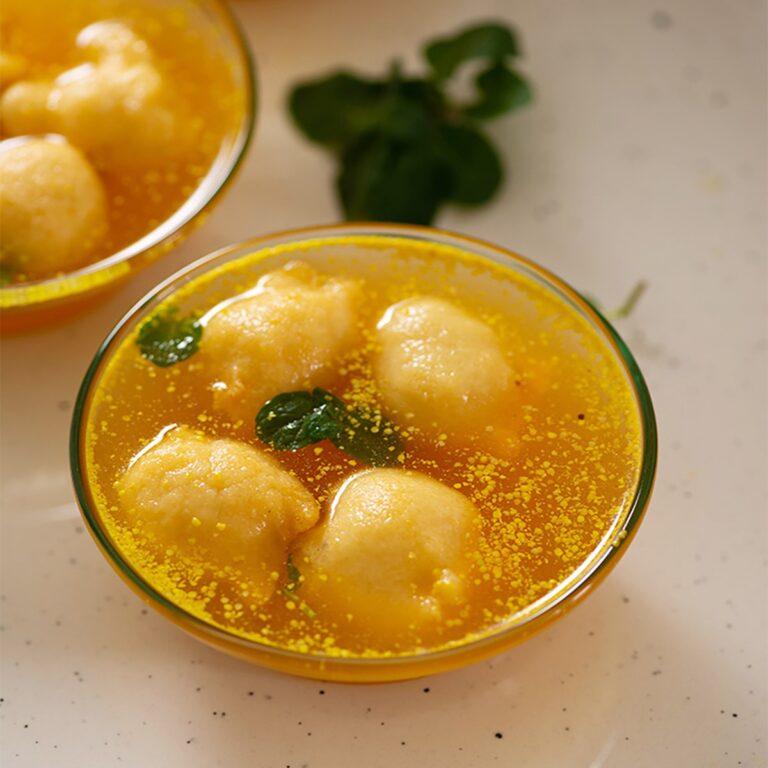
Boondi Raita Recipe
When it comes to Indian meals, a bowl of Boondi Raita served in a simple Indian meal is like a cooling breeze on a hot summer day.
This simple yet flavorful dish is a perfect blend of creamy yogurt, spiced to perfection, with soft and slightly chewy boondi (tiny fried gram flour balls). Whether you’re enjoying a plate of biryani, a comforting pulao, or crispy parathas, Boondi Raita is the ultimate companion that ties the meal together.
In this post, I’ll walk you through how to make Boondi Raita at home. It’s quick, easy, and packed with flavor!
Making Boondi Raita at home is as easy as it gets. With just a few simple ingredients and a quick preparation process, you can create a delicious and versatile side dish that complements almost any Indian meal. Whether you’re hosting a dinner party or preparing a quick lunch, this quick and easy Boondi Raita recipe is a must-try.
So, what are you waiting for? Try this homemade Boondi Raita recipe step-by-step and let me know how it turned out in the comments below. Happy cooking!
What is Boondi Raita?
Boondi Raita is a popular Indian vegetarian side dish made with chilled yogurt and fried boondi. The yogurt is whisked until smooth and seasoned with spices like roasted cumin powder, red chili powder, and black salt. The boondi, when soaked in water, softens and absorbs the flavors of the spiced yogurt, creating a delightful texture and taste.
This spiced yogurt dip is not only delicious but also cooling and light, making it an excellent choice for summer meals. It’s a probiotic Indian dish that aids digestion and complements spicy dishes perfectly.
Ingredients for Boondi Raita
Here’s what you’ll need to make this traditional Boondi Raita recipe:
- 1 cup chilled yogurt (curd)
- ½ cup boondi (store-bought or homemade)
- ½ teaspoon roasted cumin powder
- ¼ teaspoon red chili powder
- ¼ teaspoon black salt (optional but recommended)
- Regular salt to taste
- Chopped coriander leaves for garnish
- Optional: A pinch of sugar, grated cucumber, or finely chopped green chilies for variations
How to Make Boondi Raita: Step-by-Step Guide
Making Boondi Raita is incredibly simple and takes just a few minutes. Follow these steps for the best Boondi Raita recipe:
Step 1: Soak the Boondi
Start by soaking the boondi in warm water for 5-10 minutes. This softens the boondi and removes excess oil. Once soaked, gently squeeze out the water and set the boondi aside. This step ensures you have soft-textured soaked boondithat blends seamlessly with the yogurt.
Step 2: Whisk the Yogurt
In a bowl, whisk the chilled yogurt until it’s smooth and creamy. This step is crucial for achieving the perfect consistency for your raita.
Step 3: Add the Spices
To the yogurt, add roasted cumin powder, red chili powder, black salt (if using), and regular salt. Mix well to combine. You can adjust the spices based on your taste preference.
Step 4: Mix in the Boondi
Add the soaked boondi to the spiced yogurt and mix gently. The boondi will absorb the flavors of the yogurt and spices, making it even more delicious.
Step 5: Garnish and Serve
Garnish with chopped coriander leaves or mint. For an extra touch, sprinkle a pinch of roasted cumin powder on top. Refrigerate the raita for at least 15 minutes before serving to let the flavors meld together.
Tips for the Best Boondi Raita
- Use fresh yogurt: The quality of yogurt can make or break your raita. Always use fresh, chilled yogurt for the best taste.
- Don’t oversoak the boondi: Soaking too long can make the boondi mushy. A quick soak is enough to soften it.
- Adjust spices to taste: If you prefer a milder raita, reduce the red chili powder. For a tangier taste, add a pinch of chaat masala.
- Healthier option: Use roasted boondi instead of fried for a lighter version.
These tips will help you prepare a healthy Boondi Raita with tips that’s perfect every time.
Health Benefits of Boondi Raita
Boondi Raita isn’t just delicious; it’s also packed with health benefits:
- Probiotic-rich: The yogurt in raita is a natural probiotic that promotes gut health and aids digestion.
- Cooling properties: It’s perfect for reducing body heat, especially during summer.
- Nutritious: Provides protein, calcium, and essential nutrients in a light and flavorful form.
This makes it a healthy probiotic Indian dish that’s both nourishing and satisfying.
Serving Suggestions
Boondi Raita is incredibly versatile and pairs beautifully with a variety of dishes:
- Biryani and Pulao: The cooling effect of raita balances the rich and spicy flavors of biryani and pulao. It’s the ideal raita for biryani or pulao lovers.
- Parathas: Serve it alongside stuffed parathas for a wholesome and satisfying meal.
- Indian Thali: Add it to a traditional thali to complete the meal.
- Summer Meals: Enjoy it as a light and refreshing dish during hot summer days.
Variations of Boondi Raita
One of the best things about Boondi Raita is its adaptability. Here are a few variations you can try:
These raita variations are great for experimenting and finding your favorite version.
- Spiced Boondi Raita: Add black salt, chopped green chilies, and a pinch of asafoetida for a spicier version.
- Sweet Boondi Raita: Mix a teaspoon of sugar into the yogurt for a slightly sweet twist.
- Veggie Boondi Raita: Add grated cucumber or finely chopped onions for added crunch and freshness.
More Such Recipes
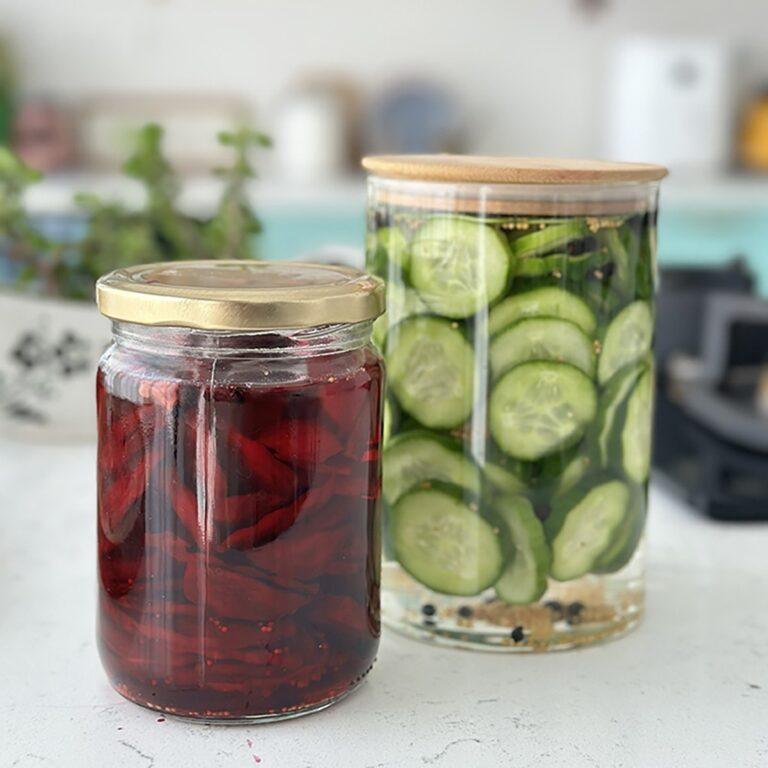
- Cucumber Raita Recipe
- Beetroot Raita Recipe
- Tzatziki
- Labneh
Boondi Raita Recipe
Ingredients
- 30 g boondi dry
- 2 cup yogurt
- 1 tsp red chilli Powder
- 1 tbsp cumin roasted Powder
- 1 tbsp coriander leaves Chopped
- to taste salt Black
Instructions
- Whisk yogurt till smooth, add salt and keep it aside.
- Add boondi to this whisked yogurt and mix well.
- Sprinkle roasted cumin powder red chilli powder, garnish with chopped coriander leaves and serve chilled.


I love it..
Super tempting and inviting raita.
I just found your blog through the DMBLGiT roundup. I am so glad I discovered it – you have so many beautiful recipes! You have a new fan :-). I would like to invite you to share this post (and other posts 🙂 ) on a new photo based recipe sharing site that launched this month. The idea is simple: all recipe photographs are published within minutes of submission. And, of course, the images link back to the author’s site. It’s called RecipeNewZ (with Z) – http://recipenewz.com I hope you get a chance to visit and to share some of your delicious posts with our viewers. It would be a pleasure to have you on board 🙂
nice raita…an absolute must these hot summer months….nice clicks.