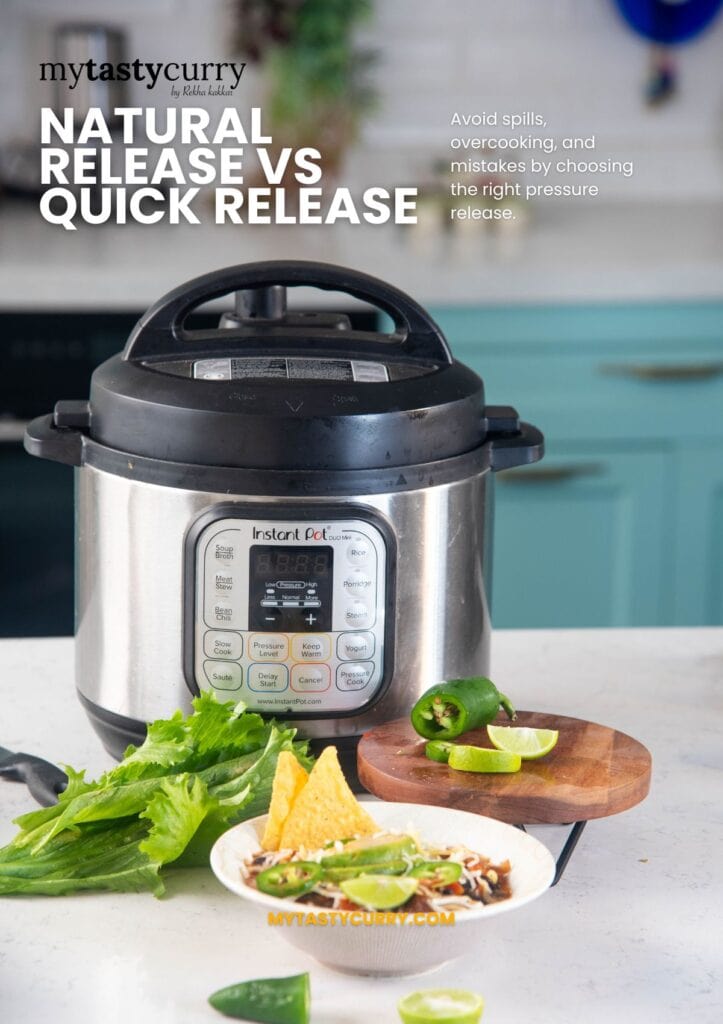
Natural Release vs Quick Release Explained
If you are confused about natural release vs quick release, you are not alone. This is one of the most common Instant Pot beginner questions. And honestly, it matters a lot. The release method changes texture, thickness, and even how calm or messy the steam release feels.
You’re following an Instant Pot recipe, the cooking time ends, and then you see it: 10 NR, then QR or Instant pot natural release or just quick release… Wait, what?
If you’re staring at your Instant Pot wondering what any of this means and whether you’re about to ruin dinner, you’re in the right place.
Understanding pressure release is one of the most important skills for Instant Pot cooking. Get it right, and you’ll have perfectly cooked food every time. Get it wrong, and you might end up with mushy beans, overcooked vegetables, or a kitchen covered in starchy foam.
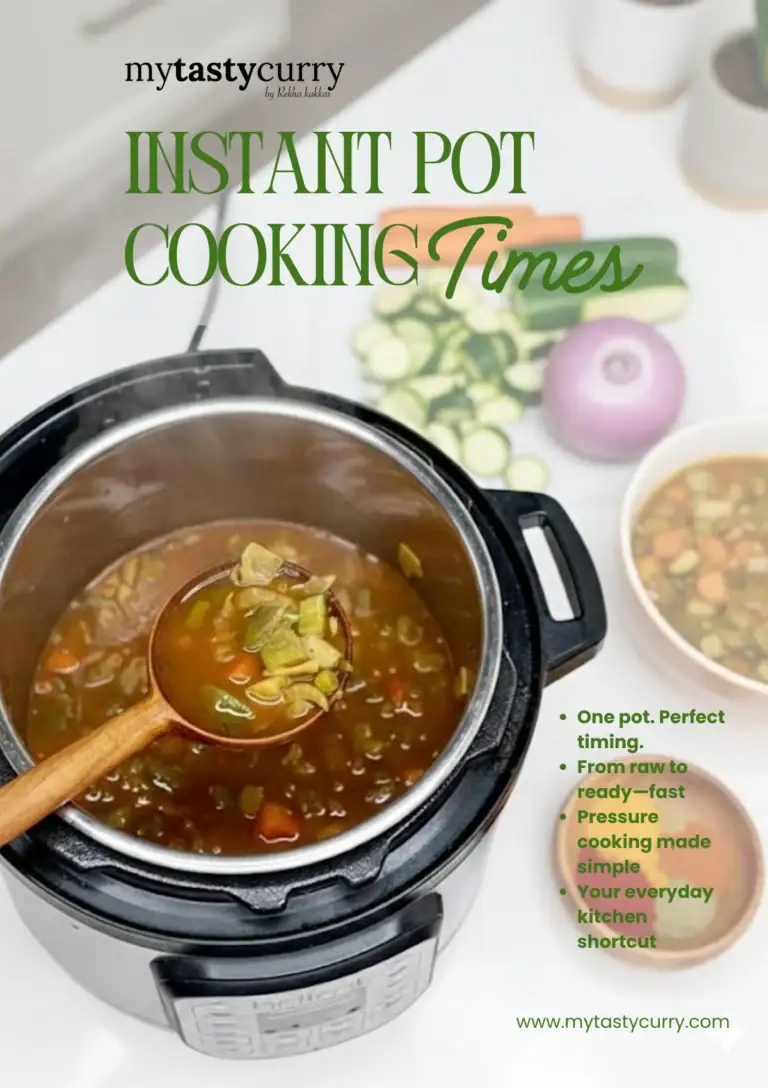
In this guide, I’ll explain instant pot natural release and instant pot quick release in simple steps. I’ll also share my easy rule for choosing the right method, plus a quick chart you can screenshot.
If you want a full beginner walkthrough, start here too: Instant Pot 101: The Complete Beginner’s Guide
Quick Answer about QR, NR and Timed Natural Release
- Quick Release (QR): You vent steam manually. Best for vegetables and short cook times.
- Natural Release (NR): Pressure drops on its own. Best for beans, lentils, soups, and thick foods.
- Timed Natural Release: Wait 10 minutes naturally, then quick release the rest. This is my favorite for many vegetarian soups and chili.
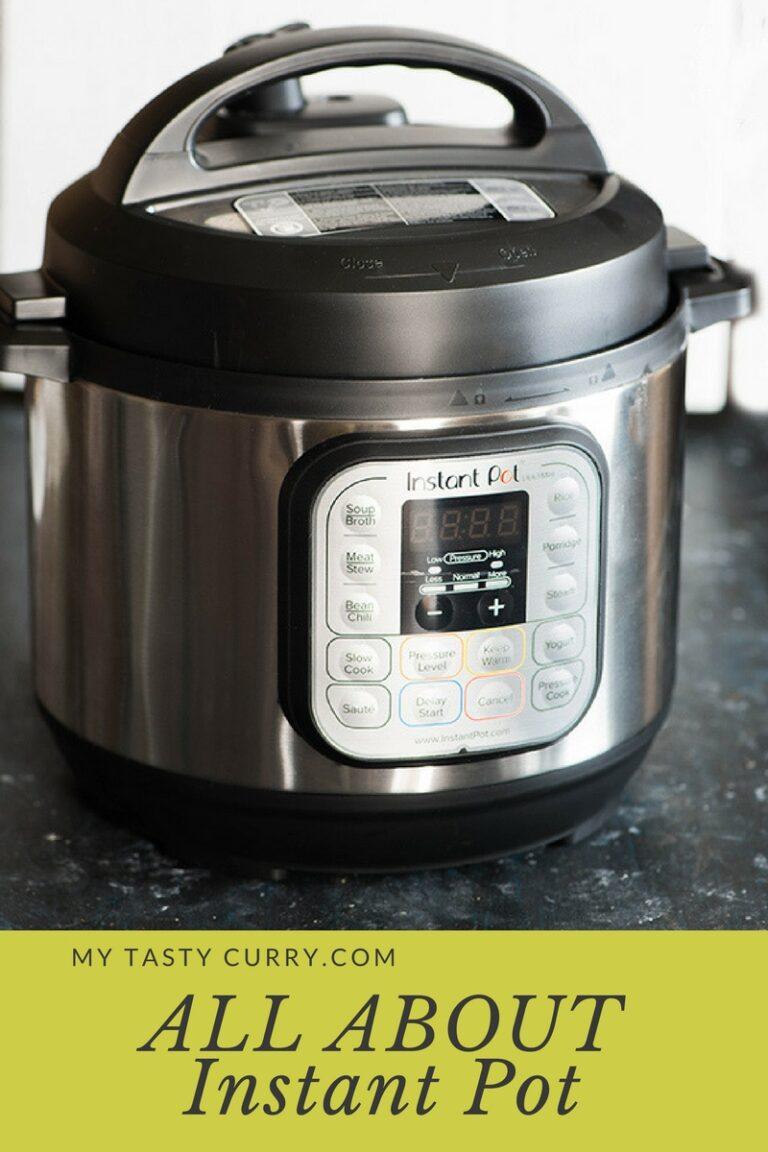
What does Pressure release mean in Instant Pot?
After pressure cooking, the Instant Pot is still pressurized. The lid stays locked until pressure drops. Release is simply how you let that pressure go down.
There are two main methods:
- Instant Pot Natural release (NR)
- Instant Pot Quick release (QR)
There is also a very common third method:
3) Timed natural release (TNR)
Instant Pot Natural Release
Natural release means you do nothing. The pot cools slowly. Pressure drops naturally over time. The float valve goes down when it is safe to open.
How to do natural release Instant Pot
- When the cooking time ends, do not touch the valve.
- Let the pot sit.
- Wait until the float valve drops.
- Open the lid.
How long does natural release take?
It depends on what you cooked and how full the pot is.
- A small pot might release in 10 to 15 minutes.
- A big pot of soup can take 20 to 30 minutes or more.
This is normal. Natural release is slow by design.
When to use natural release (NR)
Natural release is best for:
- beans and chickpeas
- lentils
- soups and stews
- thick foods (like chili)
- foods that foam or sputter
Natural release keeps things calm. It also improves texture for many vegetarian recipes.
Why Natural Release Works Better for Some Foods
During natural release, the food continues cooking gently in the residual heat. This extra time:
- Allows beans to finish cooking evenly without skins splitting
- Lets meat fibers relax, resulting in tender texture
- Gives grains time to absorb remaining liquid
- Prevents starchy foods from sputtering through the valve
Instant Pot Quick Release (QR)
Quick release means you vent steam manually by switching the valve to Venting. Steam escapes quickly. Pressure drops faster.
How to Do It
- When the timer beeps and shows “L0:00,” the cooking cycle is complete
- Carefully turn the steam release valve from “Sealing” to “Venting”
- Hot steam will shoot out forcefully, keep your face, hands, and anything else away from the steam
- Wait until the steam stops completely and the float valve (silver pin) drops down
- Turn the lid counter-clockwise and open
Safety Tips for Quick Release
- Keep your hands protected. Use a long wooden spoon, silicone spatula, or towel to turn the valve. The steam is hotter than boiling water.
- Stand back. That steam jet is powerful. Don’t hover over the pot.
- Never put your face above the valve. Sounds obvious, but in a rush, people forget.
- If liquid sputters out: Close the valve immediately, wait 30 seconds to 1 minute, then try again. This happens with very full pots or starchy foods.
When to use quick release (QR)
Quick release is best for:
- vegetables (broccoli, cauliflower, green beans)
- short cook recipes
- delicate foods that overcook easily
- pot-in-pot vegetables
Quick release stops cooking sooner. That prevents mushy vegetables.
When Quick Release Goes Wrong
With certain foods, quick release causes problems:
- Beans: The rapid pressure change causes skins to burst and beans to become mushy
- Large meat cuts: Can become tough from the sudden temperature change
- Grains: May sputter starchy liquid through the valve
- Very full pots: Liquid can foam and spray out with the steam
That’s where natural release comes in.
Timed Natural Release: my favorite beginner method
Timed natural release is a mix:
- Wait naturally for a set time
- then quick release the remaining pressure
Why timed natural release is so useful
It reduces sputtering. It makes thick foods calmer. It also improves texture for beans and soups without waiting forever.
How to do timed natural release
- When cooking ends, do nothing for 10 minutes.
- After 10 minutes, quick release the remaining pressure.
- Wait for float valve to drop.
- Open the lid.
For vegetarian Instant Pot cooking, I use timed NR a lot.
Natural release vs quick release: which one should you use?
Here is the practical chart. This is the section most readers want.
Instant Pot Natural Release vs Quick Release Chart
| Food | Release Method | Notes |
|---|---|---|
| Vegetables (broccoli, green beans, etc.) | Quick Release | Prevents overcooking |
| Potatoes | Quick Release or 5 NR | Depends on desired texture |
| Hard-boiled eggs | Quick Release + ice bath | Stops cooking immediately |
| Pasta | Quick Release | Timing critical |
| White rice | 10 NR, then QR | Allows absorption |
| Brown rice | 10-15 NR, then QR | Needs more absorption time |
| Quinoa | 10 NR, then QR | Prevents mushy texture |
| Dried beans (chickpeas, black beans) | Full Natural Release | Prevents split skins |
| Lentils | 10-15 NR, then QR | More forgiving than beans |
| Soup | 10-15 NR, then QR | Prevents splatter |
| Chili | 10-15 NR, then QR | Lets flavors meld |
| Curry | 10 NR, then QR | Thick sauces can splatter |
| Oatmeal/Porridge | Full Natural Release | Foams heavily, never QR |
| Risotto | 10 NR, then QR | Needs absorption time |
Why release method changes texture
This is the simple science part. When you pressure cook, food is in a very hot environment. When the timer ends, the pot is still extremely hot.
- With natural release, the pot stays hot longer. Food continues to cook gently.
- With quick release, temperature drops faster. Cooking stops sooner.
That is why:
- beans get softer with natural release
- vegetables turn mushy if you wait too long
- thick soups can sputter if you vent too fast
I treat release method as part of the recipe. It is not optional.
The biggest beginner mistake: releasing too fast for thick foods
If you quick release a thick bean soup or chili too fast, steam can carry foam or liquid upward. That is when people say, “My Instant Pot spit soup.”
This is also why timed natural release is helpful.
How to do a slow quick release
Some models allow you to vent slowly. Even if your model does not, you can still make release calmer.
Slow quick release method
- Do a timed natural release first (5 to 10 minutes).
- Then move the valve to Venting.
- If it sputters, close it again for 30 seconds.
- Repeat slowly until pressure releases.
This works very well for beans and starchy soups.
What if my float valve won’t drop?
If the float valve is still up, the pot still has pressure. Do not force the lid. Try this:
- Wait 5 more minutes.
- If you need it faster, do a careful quick release.
- Make sure the valve is fully open to venting.
If the float valve still stays up, wait. It will drop when pressure is gone.
Natural release vs quick release
Here is how release shows up in your planned recipes.
Instant Pot Vegetarian Chili
Best release: Timed NR 10 minutes then QR
Why: thick tomato base stays calmer and texture improves
Instant Pot Lentil Soup (Greek-Style)
Best release: Timed NR 10 minutes then QR
Why: lentils soften well and soup stays calm
Instant Pot Black Bean Soup
Best release: Natural release or timed NR
Why: beans soften evenly and sputtering reduces
Safety notes during Natural Release and Quick Release
- Steam is hot. Stand back during quick release.
- Keep the valve area clear.
- Do not quick release under low cabinets.
- Never force the lid open.
If you are new, I recommend practicing quick release with the water test first.
Instant Pot 101: Instant Pot Water Test
My easy rule to Choose Natural Release Vs Quick Release
The one rule that I follow when I do not want to think. If the food is:
- thin and fast cooking → use quick release
- thick, starchy, or foamy → use natural release or timed natural release
This rule keeps dinner predictable.
When to Use Each Method: The Simple Rules
Use Quick Release For:
- Vegetables: They continue cooking rapidly in the hot pot. Quick release stops the cooking immediately so they stay crisp-tender, not mushy.
- Pasta: Timing is critical. An extra few minutes of natural release can turn al dente into overcooked mush.
- Eggs: Especially for hard or soft-boiled eggs where you want precise doneness.
- Delicate foods: Anything that overcooks easily benefits from the immediate stop.
- When you’re in a rush: Sometimes you just need dinner now.
Use Natural Release For:
✅ Beans and legumes: Quick release causes skins to split and texture to suffer. Always natural release beans.
✅ Grains (rice, quinoa, farro): They need time to absorb liquid evenly. Quick release can leave them undercooked or waterlogged.
✅ Large quantities of liquid: Soups and stews can sputter violently with quick release. Natural release is gentler and safer.
✅ Foods that foam: Oatmeal, pasta water, bean cooking liquid — anything starchy can shoot through the valve.
✅ When you want maximum tenderness: The gradual cooldown relaxes proteins and tenderizes food.
Use Timed Natural Release (10-15 NR) For:
✅ Most soups and stews: Get the benefits of gentle release without waiting forever
✅ Curries and saucy dishes: Lets flavors meld while avoiding splatter
✅ When you’re unsure: It’s the safe middle ground
FAQs
What is natural release on Instant Pot?
Natural release means you let pressure drop on its own after cooking. You do not move the valve. The float valve drops when it is safe to open.
What is quick release on Instant Pot?
Quick release means you move the valve to Venting so steam releases quickly. Pressure drops faster and food stops cooking sooner.
When should I use natural release vs quick release?
Use natural release for beans, lentils, soups, and thick foods. Use quick release for vegetables and short cook recipes.
How long does natural release take?
It depends on how full the pot is. It can take 10 to 30 minutes or more for large soups. This is normal.
Why does my Instant Pot sputter during quick release?
Foamy or thick foods can spit liquid when vented too fast. Do a timed natural release first and vent slowly.
Is timed natural release the same as natural release?
Timed natural release means you wait naturally for a set time (often 10 minutes), then quick release the remaining pressure.
Common Pressure Release Mistakes
- Mistake #1: Quick releasing beans Result: Blown-out, mushy beans with separated skins. Always use natural release for dried beans.
- Mistake #2: Natural releasing vegetables Result: Overcooked, mushy veggies. By the time you open the lid, they’ve turned to mush. Use quick release for crisp-tender vegetables.
- Mistake #3: Quick releasing a very full pot Result: Hot liquid and foam shooting through the valve, making a mess (and potentially burning you). If the pot is more than 2/3 full, start with 5-10 minutes natural release first.
- Mistake #4: Quick releasing oatmeal or porridge Result: Starchy foam explosion. Oatmeal should always be full natural release. The foam will clog and spray through the valve otherwise.
- Mistake #5: Rushing quick release when liquid sputters Result: Messy countertop and potential burns. If liquid comes out with the steam, close the valve, wait a minute, then try again in short bursts.
- Mistake #6: Waiting too long on natural release Result: Overcooked food. Natural release isn’t “the longer the better.” Once the pin drops, the cooking has essentially stopped. Don’t leave food sitting for an hour.
- Mistake #7: Not accounting for natural release in total time Result: Dinner ready 30 minutes later than expected. When meal planning, add the natural release time to your estimates. A 15 minute bean recipe with full natural release actually takes 45+ minutes total.
Download the Free Printable PDF
Get this entire Instant pot cooking times chart as a beautifully designed PDF to print and keep in your kitchen.
Related Guides
- Instant Pot 101: Complete Beginner’s Guide: If you’re just getting started
- Instant Pot Cooking Times Cheat Sheet (Free Printable): All timings and release methods in one chart
- 10 Instant Pot Mistakes to Avoid: Common errors and how to fix them
- Best Instant Pot Vegetarian Recipes: Ready to start cooking?
Ready to Cook?
Now that you understand pressure release, difference between Natural release Vs Quick Release try one of these beginner-friendly recipes:
Instant Pot Zero Oil Chana Masala : Uses 10-minute natural release, perfect practice
Instant Pot Lentil Curry: Natural release keeps lentils perfectly tender.
Instant Pot Kala Chana Masala: Full natural release for creamy, intact chickpeas
Next post in this series
Next up: Instant Pot Cooking Times Chart (Free Printable).
This will help you choose pressure times and release methods with confidence.
If You like this recipe and made it Please rate the recipe. It helps us to reach more people. For the Latest updates Subscribe to Rekha’s Whatsapp. You can follow me on Instagram, Facebook, Youtube, Pinterest for more food inspirations.