How to make curd or dahi or yogurt. Here’s how I make curd/dahi/yogurt at home. I am sharing step by step photos with my tips on how to make thick and creamy yogurt that is all-natural, preservative-free and texture is such that you can cut a slice of it.
Summertime is here and this is the best time to consume yogurt or dahi. Not only it is cooling in nature but it is a great probiotic as well and helps greatly in maintaining good gut health and digestion.
This is also a season to consume plain or sweetened yogurt, a variety of lassi, shrikhand and raita. Curd and yogurt is the base of all of these. To make all of the above yogurt recipes you need a good quality curd and you can easily make the best yogurt at home with my method.
BUY THIS YOGURT SETTING TERRACOTA BOWL WITH WOODEN LID
Jump to:
Why You Must Make Yogurt at home?
- It is all-natural and preservative-free.
- It saves you a lot of money to make yogurt at home. At the same cost, you can make 2.25 times more.
- You can use whichever milk you like. Personally, I use organic milk at home so I make organic yogurt which is hard to find in the supermarket.
- It has no added sugar.
- You can make vegan yogurt by using the same method either with cashew milk or almond milk.
Ingredients for Homemade Yogurt
You need just two ingredients to make homemade yogurt.
Milk: Full-fat milk or freshwhole milk is the best for setting thick and creamy curd and yogurt. It is great for making markets like dahi the way they sell in sweet shops. In FAQ’s section, I will talk more about which is the best milk for making yogurt at home.
Culture: Culture for yogurt is nothing but a day’s old curd or few days old curds to add to the milk for setting the yogurt.
Step by Step Method: How to Make Thick and Creamy Dahi at Home
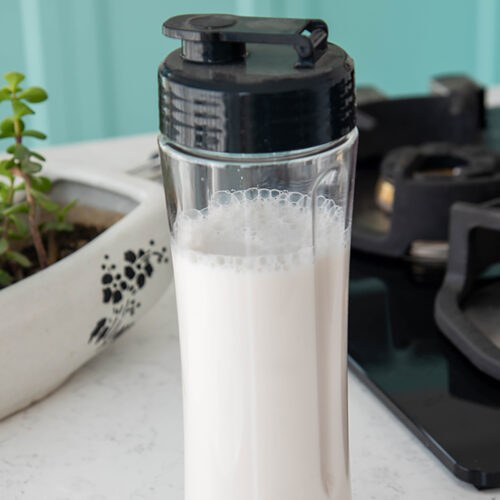
To make dahi first take a saucepan and rinse it. Rinsing the pan prevents burning and sticking milk at the bottom of the pan.
In this pan add milk and heat it till it feels lukewarm. The best test is by dipping your little finger and the milk should feel comfortable, warm and never hot. If you have an oven thermometer the temperature should be between 35-40 degree Celcius.
Now remove the pan from the heat and keep it aside.
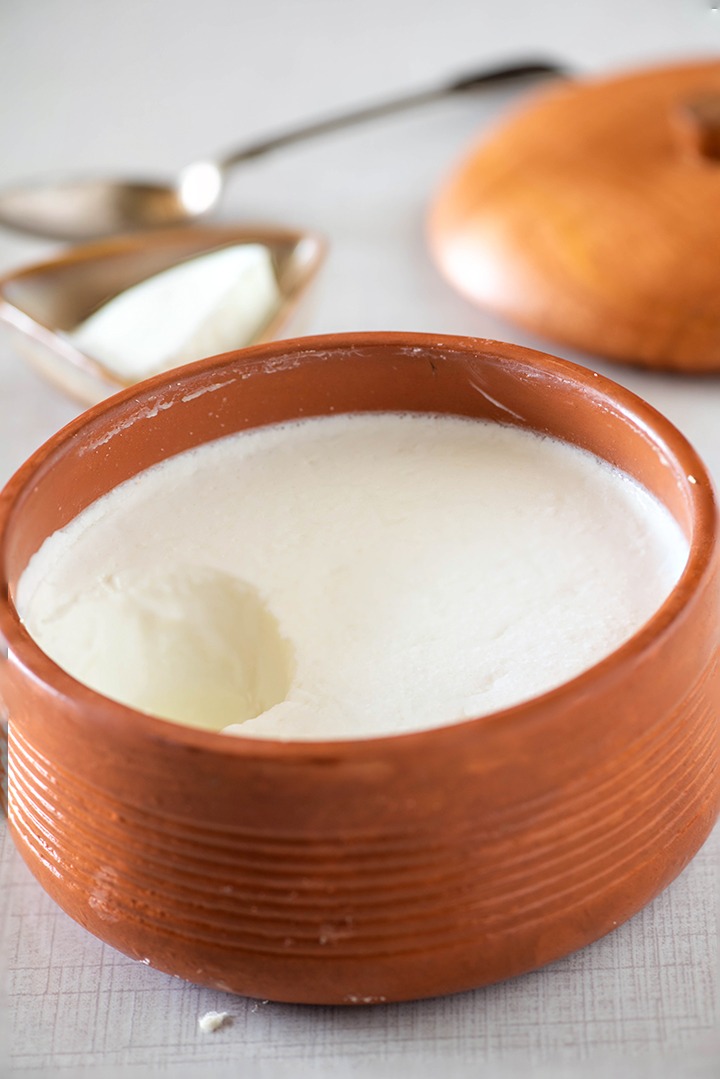
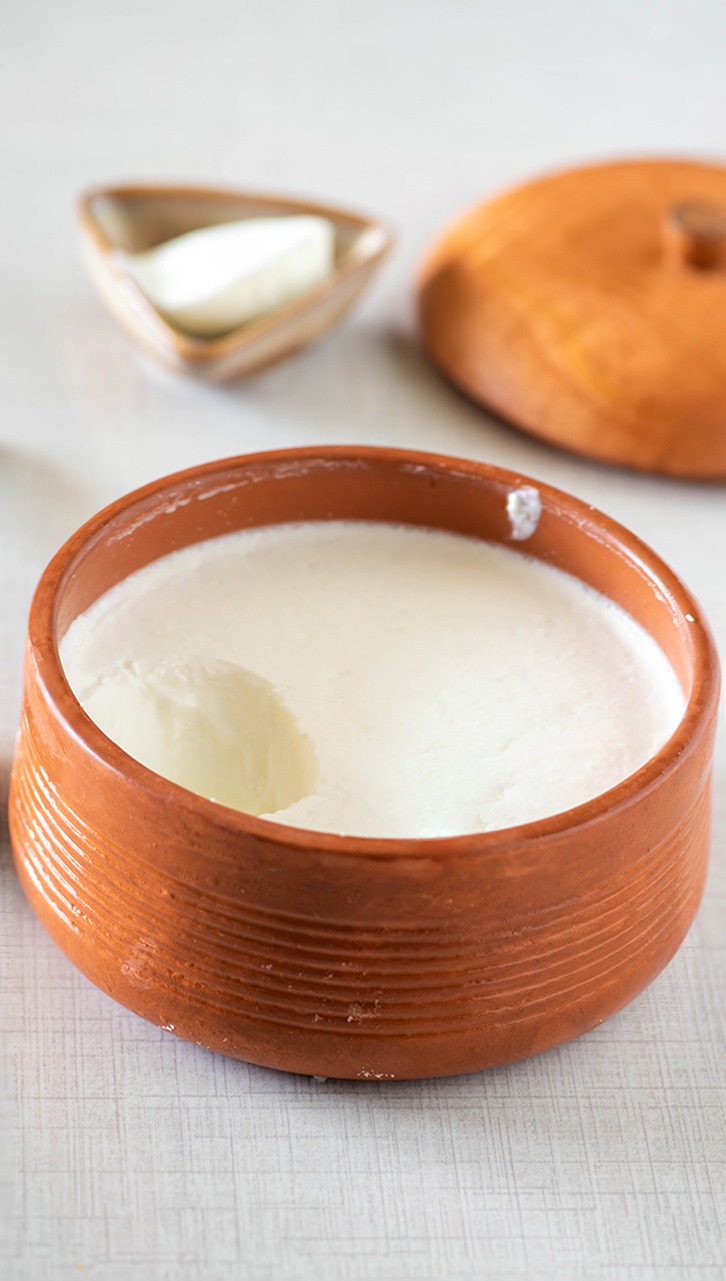
Take an earthen pot(if possible) otherwise any ceramic or metal pot will do the job. Yogurt set in the earthen pot has an earthy and sweet taste so I prefer to use that.
Now take a small amount of yogurt (starter/culture) from the previous batch or store-bought yogurt and spread it uniformly on the bottom of the pot or container in which you are setting the curd.
To this add the warm milk and with a clean spoon mix the starter nicely.
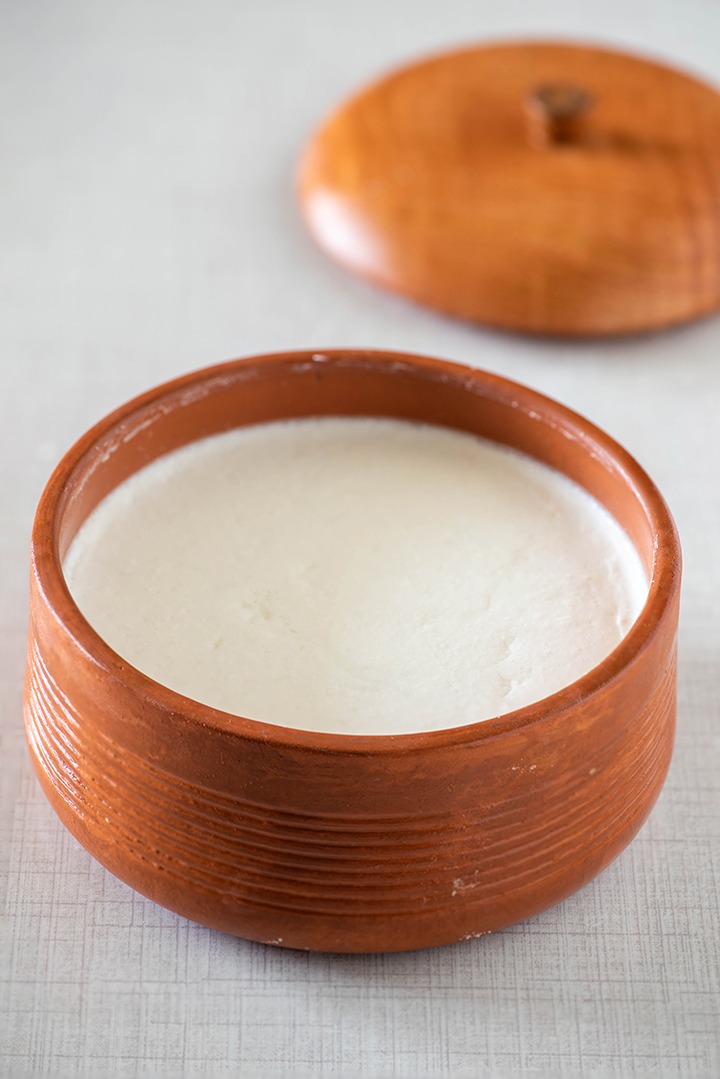
Cover it with a lid and place this pot or container in a warm place to make the curd.
In summers it takes somewhere 5-6 hours to set a perfectly thick and creamy curd. After that, I like to keep it in the fridge for 30-40 minutes and then it is ready to be consumed.
To set the curd in winters you need to keep it for longer periods in a warm environment for that perfect consistency of curd.

Recipe Notes and FAQ’s for Making Yogurt/Curd
Right Temperature of milk for setting Curds
For setting thick curds the milk temperature should be between 35-40 degree Celsius. It should never be too hot. It may kill the culture/starter, milk may coagulate and the curd will be runny and watery.
Using Too cold milk for setting curd may result in curd not setting at all. The culture needs an optimum temperature to grow and hence convert the milk into curds. Too hot milk should never be used to make yogurt because milk may spoil during the fermentation process and curd resulting may not be fit to consume as it is sour.
While mixing curd culture make sure to mix and dissolve the starter in the warm milk uniformly. Place this container in a warm place.
Which Milk is Best for Setting Curd?
The best milk for setting curd is whole milk or full-fat milk. You can use low-fat milk or 2% milk but the curd made from low-fat milk may not be as thick and may contain a lot of whey. If you are okay with that you can use low-fat milk. To make vegan yogurt use any of the vegan milk like cashew milk or almond milk but make sure that they are full fat too.
How to Stop curd becoming slimy or sticky?
Good starter matters a lot. If you set curd with greek yogurt or already slimy culture there are chances that the resulting yogurt will turn out to be slimy or sticky.
To prevent slimy curd etc use real yogurt. Either I use the one that I get from the local sweet shop or save a small amount of dahi from the previous day. Sometimes I use a starter taken from the Ultimate Dahi pack and take all the usual tips of making perfect curd I have shared here.
How much starter or dahi to use for setting curd?
The quantity of starter that you need for setting curd depends upon the type of milk you are using and how much milk you are setting for making yogurt. For making ½ litre of yogurt I usually use one teaspoon of yogurt.
How to make curd without Curd?
To make a starter when you do not have curd at home. You can make a starter first and then use that starter to set the curd. To make a yogurt starter, first warm 1 cup of milk. Add about 3-4 dried red chillies with stalks to it. Place it in a warm place and allow it to set. The yogurt made with this method may not be perfect but this works great as a starter so you can use this as a starter to make fresh yogurt at home without curd.
How to Set curds in the winters?
In winters yogurt takes much longer to set. To make yogurt in winters either wrap it in a warm blanket and place it in the warmest place in your home.
You can place the container in a big container where you store rice or whole wheat flour.
Another favourite trick of mine is I place a yogurt bowl in the oven. First, preheat the oven to 80-degree Celsius and open the door of the oven for 2 minutes. Then place the bowl or container in which I am setting the curd and close the door. After 6-7 hours the perfect curd is ready at home. But be careful that you use this technique only in winters.
If your oven has a yogurt setting just press that and make thick and luscious curd in no time.
What Dishes you can Make with Curd or yogurt?
- Curd Sandwich - Indian Style Sandwich
- Curd Cheese and Veggie Sandwich
- Dahi kabab Recipe
- Paneer Dahi Kabab
- Dahi ke sholey
- Dahi wale aloo
- Dahi Vada
- Bread Dahi Vada/Instant Dahi vada
- Shrikhand
- Cucumber Raita
- Beetroot Raita
More Such Recipes and How to’s
- How to Store Cilantro/ Coriander leaves
- How to Prepare Kale for Salad
- How to make homemade paneer
- How to make cauliflower rice without food processor
Watch Video
📖 Recipe
How to Make Yogurt at Home
Equipment
- Any Deep Pan or Dutch oven
Ingredients
- 500 ml Milk
- 1 teaspoon yogurt for culture
Instructions
- To make dahi first take a sauce pan and rinse it. Rinsing the pan prevents burning and sticking milk at the bottom of the pan.
- To this pan add milk and heat it till it feels lukewarm. The best test is by dipping your little finger and the milk should feel comfortable warm and never hot. If you have a oven thermometer the temperature should be between 35-40 degree celcius.
- Now remove the pan from the heat and keep it aside.
- Take a earthen pot(if possible) otherwise any ceramic or metal pot will do the job. Yogurt set in the earthen pot has an earthy and sweet taste so I prefer to use that.
- Now take a small amount of yogurt (starter/culture) from the previous batch or store bought yogurt and spread it uniformly on the bottom of pot or container in which you are setting the curd.
- To this add the warm milk and with a clean spoon mix the starter nicely.
- Cover it with a lid and place this pot or container in a warm place to make the curd.
- In summers it takes somewhere 5-6 hours to set a perfect thick and creamy curd. After that I like to keep it in fridge for 30-40 minutes and then it is ready to be consumed.
- To set the curd in winters you need to keep it for longer periods in a warm environment for that perfect consistency of curd.
Video
Notes
Use Full fat whole milk to set the yogurt.
Use right amount of culture
Nutrition

Leave me your Opinion