Strawberry jam recipe without pectin. Now that Strawberry Season is still going on and this is a perfect time to make my batch of strawberry jam that is totally chemical preservative free and natural.

There's something truly magical about the process of making homemade strawberry jam. From the tantalizing aroma that fills the kitchen to the satisfying pop of the jar lids sealing shut, every step is a labor of love.
Making homemade strawberry jam is a labor of love that yields sweet rewards. With just a handful of ingredients and a little patience, you can create a delicious spread that brightens breakfasts, snacks, and desserts.
Whether enjoyed on its own or incorporated into recipes, strawberry jam is sure to delight your taste buds and nourish your body with the vibrant flavors of summer's favorite fruit. So roll up your sleeves, gather your berries, and let the jam-making adventure begin!
In this guide, I'll walk you through my favorite strawberry jam recipe, discuss its nutritional aspects, explore creative uses for this delightful spread, and share tips on storage to ensure your jam stays fresh for as long as possible.
Ingredients You Need:
To start on this jam-making journey, you'll need just a few simple ingredients:
- Fresh strawberries: Aim for ripe, juicy berries bursting with flavor.
- Granulated sugar: Balances the tartness of the strawberries and acts as a natural preservative.
- Lemon juice: Adds a hint of brightness and helps set the jam.
- Apples: since we are not using pectin and apples have natural pectin This step ensures that your jam achieves the perfect consistency.
Method:
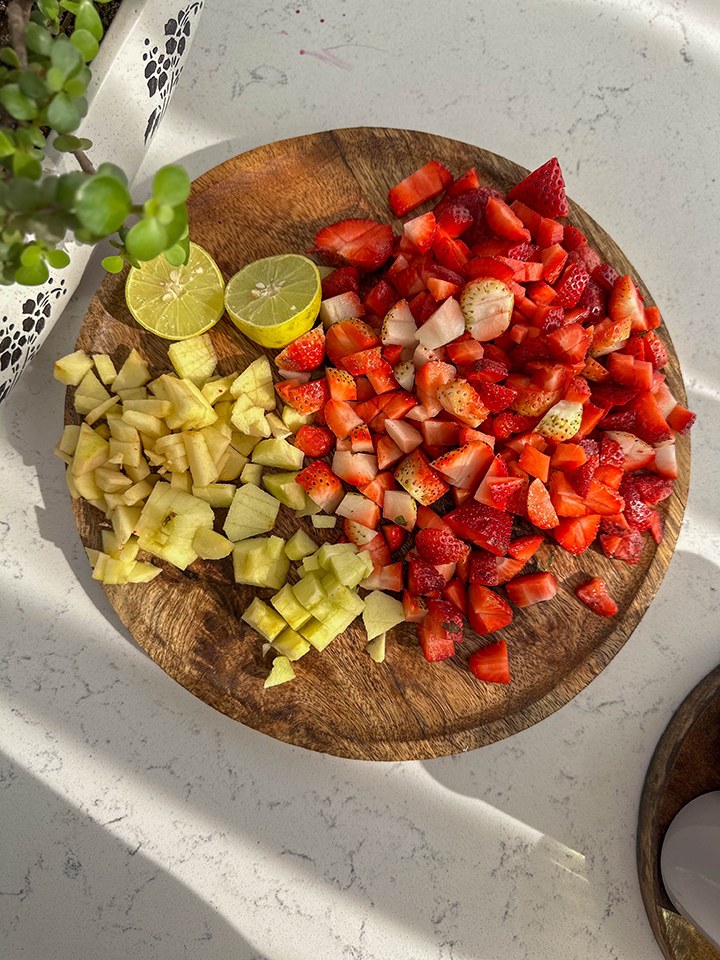
- Wash and hull the strawberries, then chop them into small pieces. For a smoother jam, you can mash the strawberries with a potato masher or pulse them in a food processor.
- Transfer the chopped strawberries to a large saucepan and add sugar and lemon juice. Stir well to combine.
- If using pectin, sprinkle it over the strawberry mixture and mix thoroughly.
- Place the saucepan over medium heat and bring the mixture to a gentle boil, stirring frequently to prevent sticking.
- Once the jam reaches a rolling boil, continue cooking for 10-15 minutes, or until it thickens to your desired consistency. To test if the jam is ready, place a small amount on a chilled plate and tilt it. If the jam wrinkles slightly, it's done.
- Remove the saucepan from the heat and let the jam cool for a few minutes.
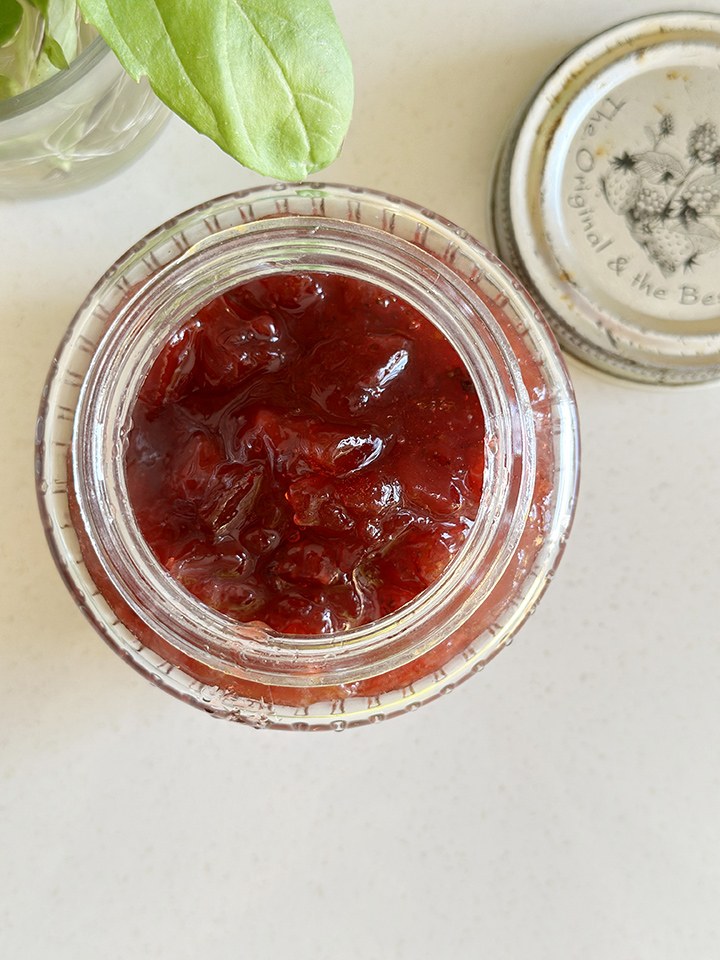
- Transfer the jam into sterilized jars, leaving a small headspace at the top. Seal the jars tightly.
Tricks and Tips for Making Perfect Strawberry Jam:
- Use ripe strawberries for the best flavor. Overly ripe berries may result in a mushy jam.
- Be patient while cooking the jam. Rushing the process can lead to undercooked or burnt jam.
- Skim off any foam that forms on the surface of the jam during cooking to achieve a clearer final product.
- Sterilize your jars and lids before filling them with jam to prevent spoilage.
- Store the jam in smaller jars to minimize air exposure and extend its shelf life.
Is Strawberry Jam Healthy?
While strawberry jam is undeniably delicious, it's important to consider its nutritional profile. Strawberries themselves are packed with vitamins, minerals, and antioxidants, but when they're turned into jam, sugar is typically added to enhance flavor and preserve the fruit.
In moderation, strawberry jam can certainly be part of a balanced diet. However, it's essential to be mindful of added sugars, which can contribute to excessive calorie intake and may have negative effects on health if consumed in large amounts.
Opting for homemade jam allows you to control the amount of sugar you add, or you can explore alternative sweeteners like honey or maple syrup for a healthier option.
Additionally, consider the serving size when enjoying strawberry jam. A small amount spread on whole grain toast or mixed into yogurt can be a tasty way to incorporate fruit into your diet without overdoing it on sugar.
Ways to Enjoy Strawberry Jam:
The versatility of strawberry jam extends far beyond simply spreading it on toast. Here are some creative ways to enjoy this delightful preserve:
- PB&J Sandwiches: Elevate the classic peanut butter and jelly sandwich by using homemade strawberry jam for a burst of fresh flavor.
- Breakfast Parfaits: Layer Greek yogurt, granola, and strawberry jam in a glass for a nutritious and satisfying breakfast or snack.
- Thumbprint Cookies: Fill thumbprint cookies with strawberry jam before baking for a sweet and fruity treat.
- Salad Dressing: Mix strawberry jam with balsamic vinegar and olive oil for a tangy and vibrant salad dressing.
- Glazed Meats: Use strawberry jam as a glaze for grilled chicken, pork, or salmon for a unique and flavorful twist.
- Dessert Toppings: Drizzle strawberry jam over ice cream, cheesecake, or pancakes for an indulgent finishing touch.
Storage and Shelf Life:
Proper storage is key to preserving the freshness and flavor of your homemade strawberry jam. Follow these tips to ensure your jam stays delicious for as long as possible:
- Store sealed jars of jam in a cool, dark place, such as a pantry or cupboard.
- Once opened, store jam in the refrigerator to maintain its quality and prevent spoilage.
- Use clean utensils to scoop jam out of the jar to avoid introducing bacteria.
- Check your jam periodically for signs of spoilage, such as mold growth or off odors.
- Properly sealed and stored, homemade strawberry jam can last for up to a year.
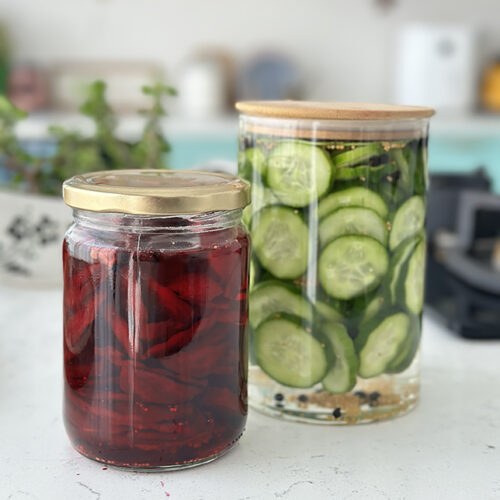
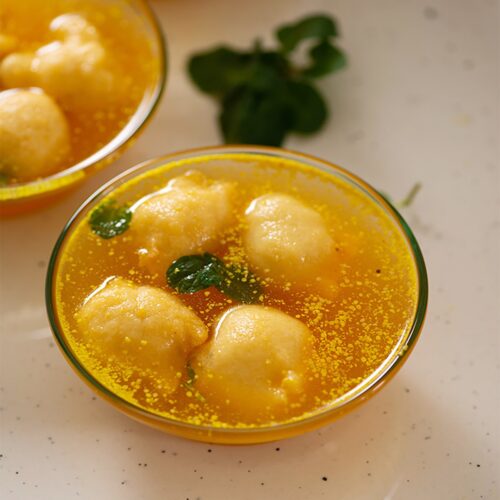
More Such Recipes
📖 Recipe
Strawberry Jam (without pectin)
Ingredients
- 2 pounds strawberries (washed, hulled, and sliced)
- 3 cups granulated sugar
- 1 lemon juiced
- lemon zest Optional for extra flavor
- 2 medium apples
Instructions
- Prepare the strawberries: Wash the strawberries first in water in which baking soda is added and then thoroughly under cold running water. Remove the stems and hulls, then slice them into halves or quarters, depending on their size.
- Sterilize the jars: Wash the jars and lids in hot, soapy water, then rinse them well. You can also sterilize them by boiling them in water for 10 minutes or running them through a dishwasher cycle.
- Cook the strawberries: Place the sliced strawberries in a large, heavy-bottomed pot. Add the sugar, lemon juice, and lemon zest (if using). Stir well to combine.
- Cook over medium heat: Bring the strawberry mixture to a gentle boil over medium heat, stirring occasionally to prevent sticking or burning. Skim off any foam that rises to the surface.
- Simmer: Once the mixture reaches a boil, reduce the heat to low and let it simmer gently. Cook for about 30-40 minutes, or until the strawberries have softened and the mixture has thickened to your desired consistency. Stir occasionally to prevent sticking.
- Test for doneness: To check if the preserves are ready, place a small amount on a chilled plate and let it cool for a minute. If it thickens and wrinkles slightly when you push it with your finger, it's done. If not, continue cooking for a few more minutes and test again.
- Fill the jars: Once the preserves have reached the desired consistency, carefully ladle them into the sterilized jars, leaving about ¼ inch of headspace at the top. Wipe the rims of the jars with a clean, damp cloth to remove any spills or drips.
- Seal the jars: Place the lids on the jars and screw them on tightly. If you're using metal lids, you can process the jars in a boiling water bath for 10-15 minutes to ensure proper sealing. If you're using screw-on lids with built-in seals, this step may not be necessary, but it can help ensure a good seal.
- Cool and store: Allow the jars to cool completely at room temperature before storing them in a cool, dark place. Properly sealed jars can be stored for up to a year. Once opened, store the preserves in the refrigerator and use within a few weeks.

Leave me your Opinion